
Deploy your first app
Deploy an app from any source with one wizard.
Deploying is one wizard with three cards. Only the middle card changes with the source you pick. The build runs on the server you choose, never on the control plane.
Deploy it
Open the wizard
On the Overview, open Add new, then Application.
Pick where the code comes from
Five sources: GitHub, Git, Docker Image, Compose and Upload. Click one to go to the next card. Template opens the catalogue instead.
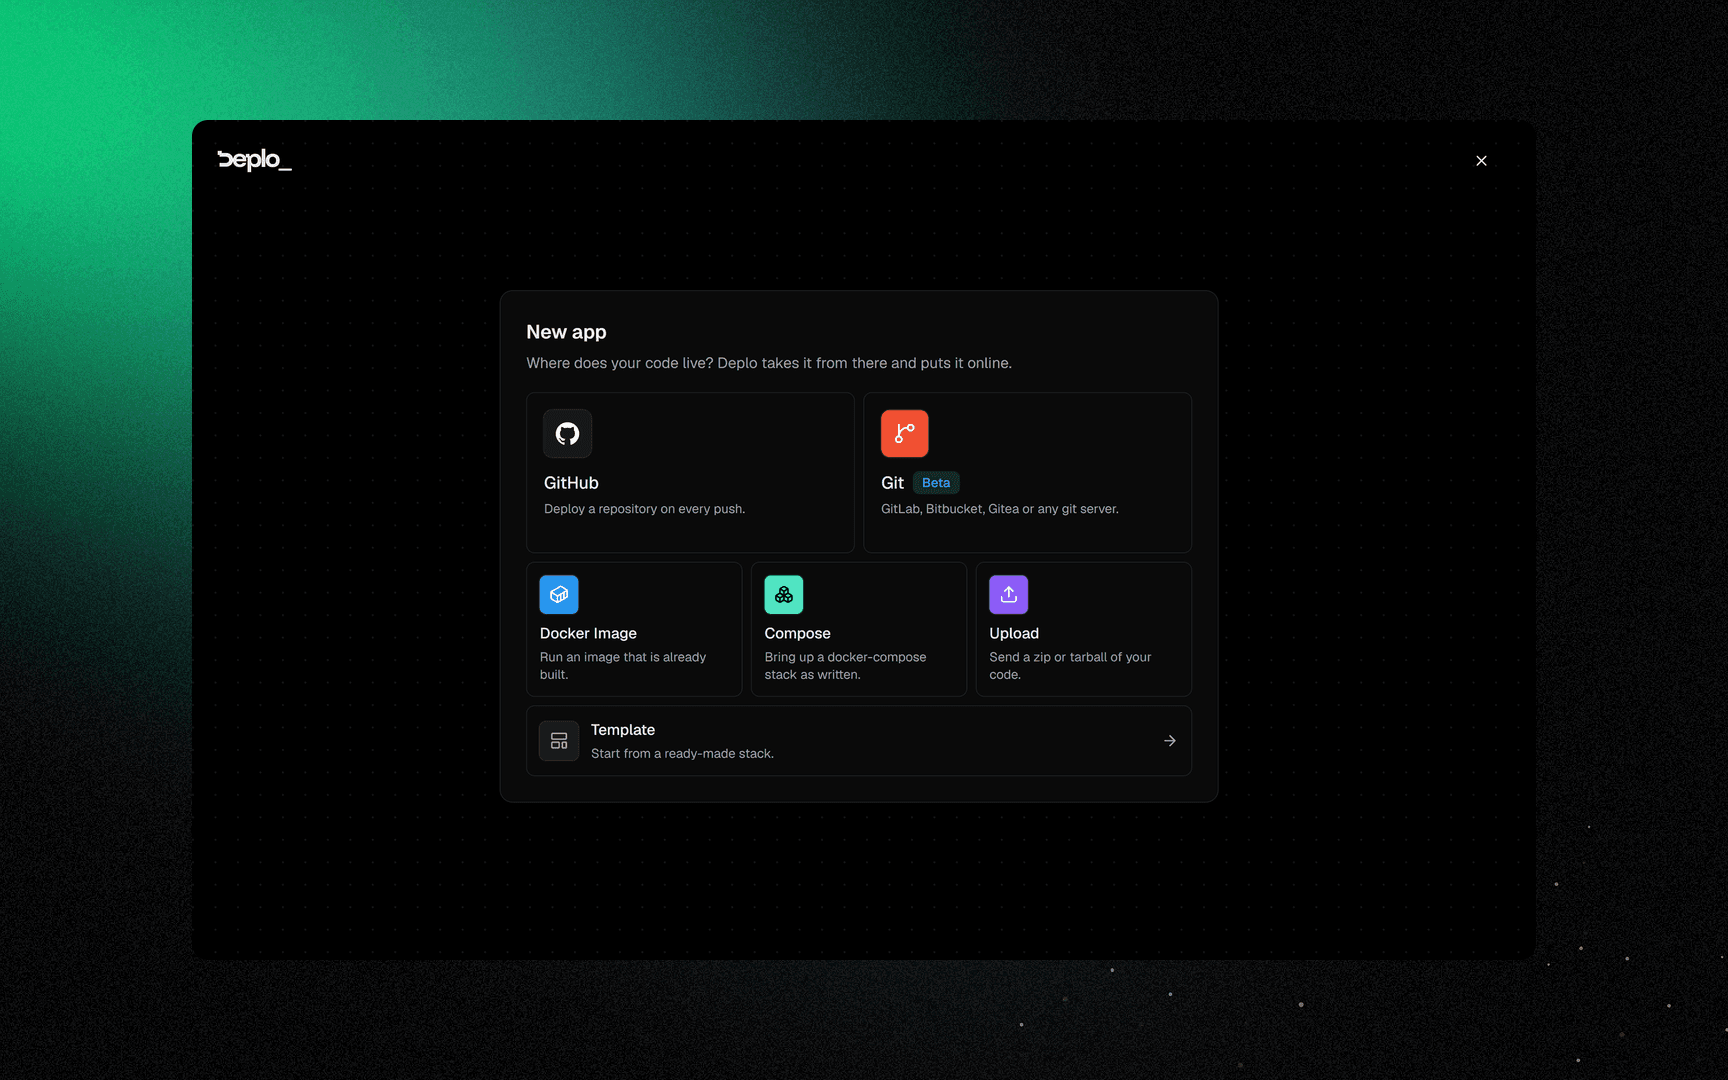
You can also drag an archive onto the Overview or onto the wizard. Deplo opens the Upload step with the file and the name already filled in.
Fill in that source
This is the only step that changes with the source.
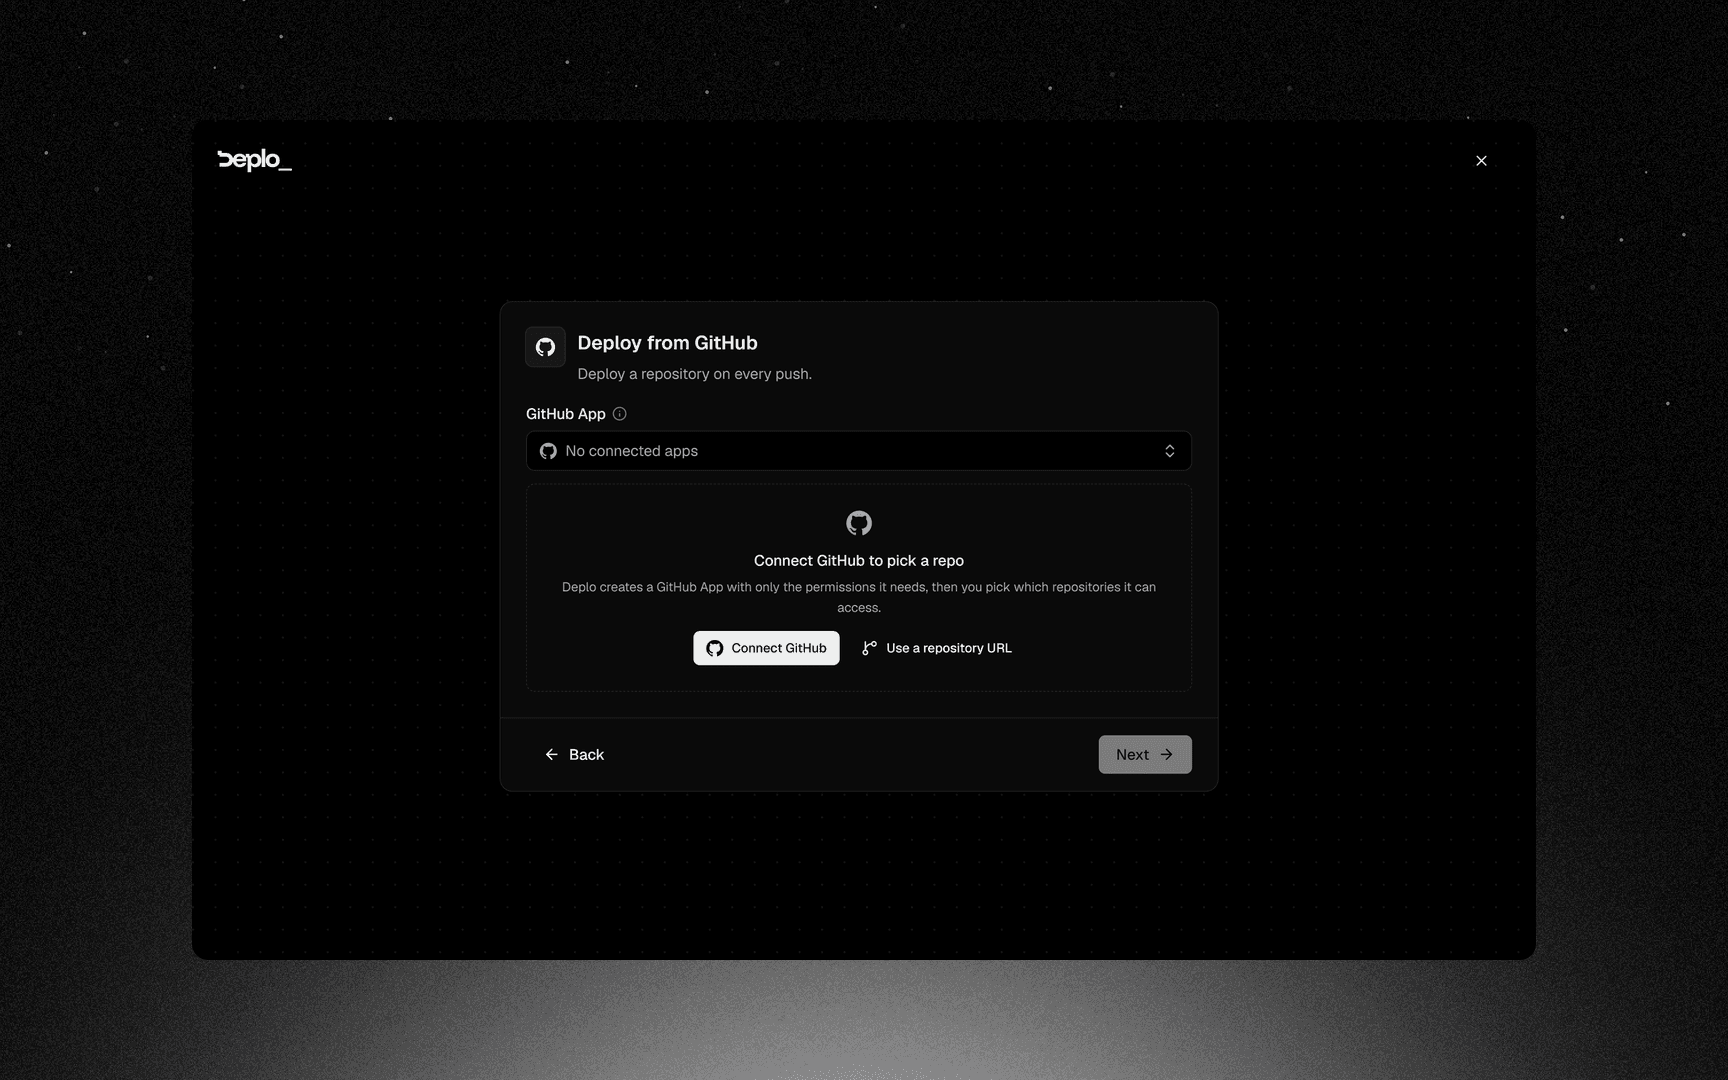
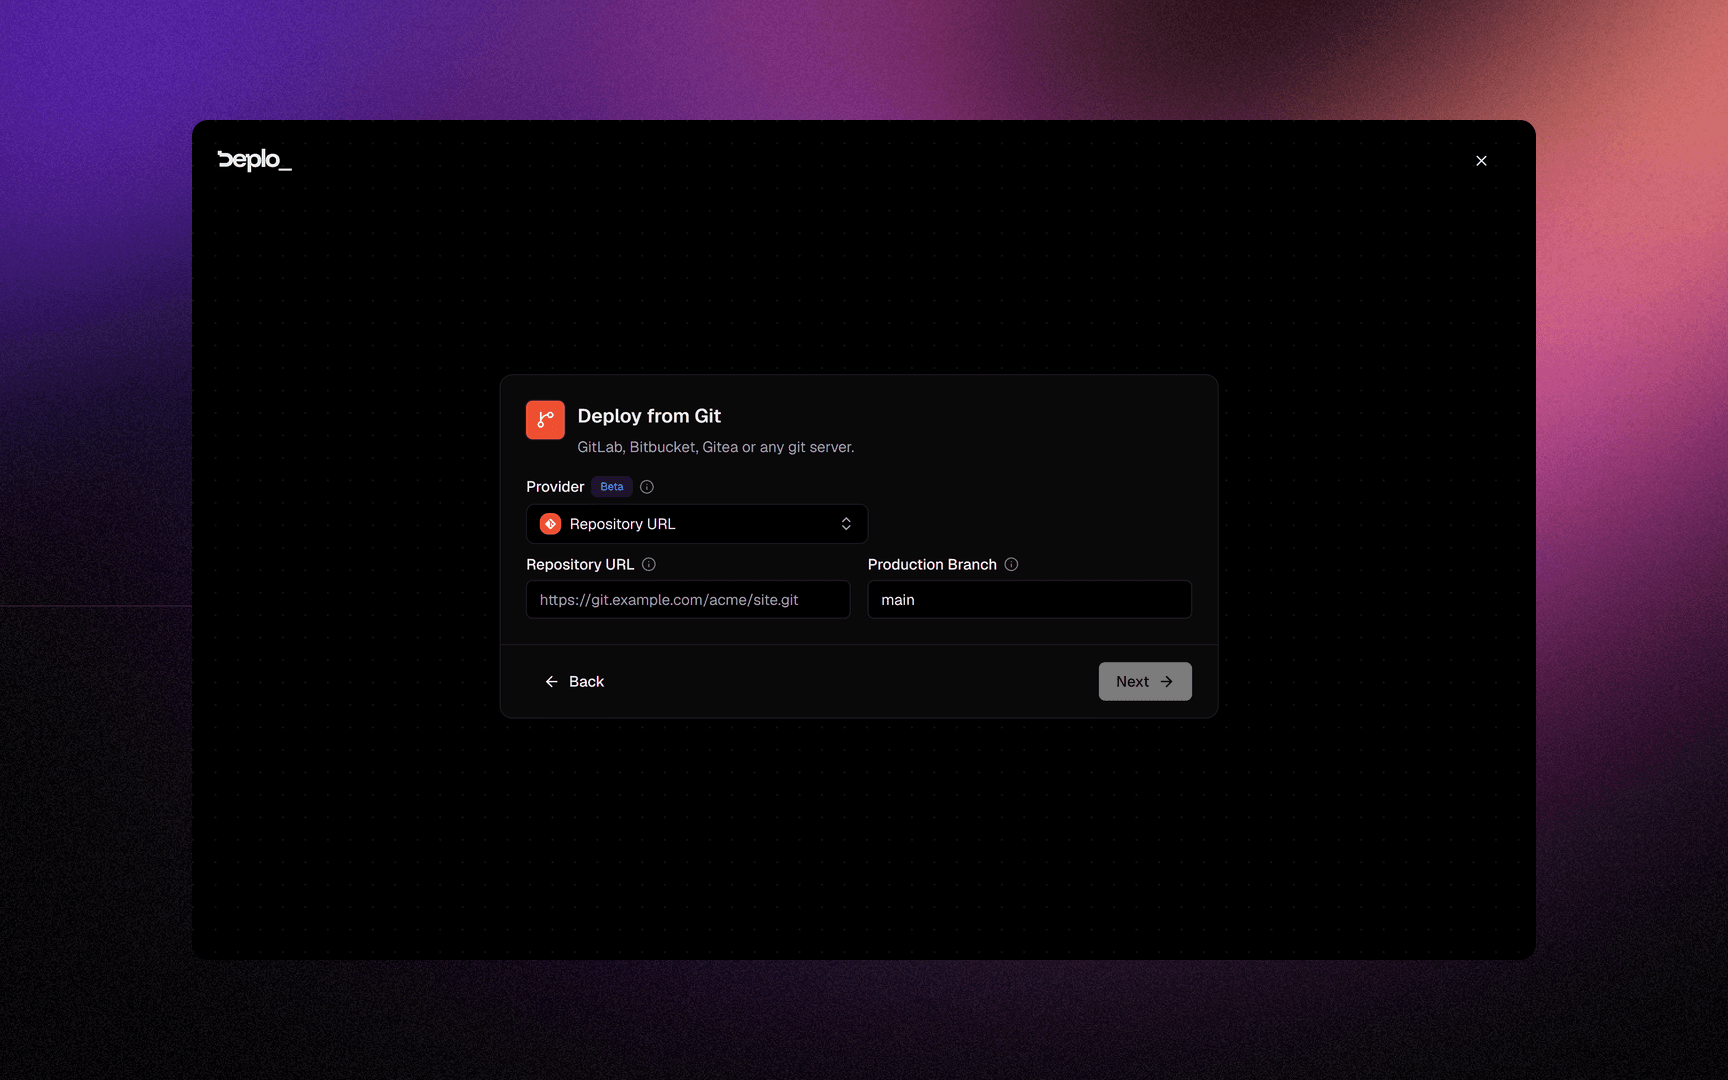
If no GitHub App is connected yet, click Connect GitHub and follow GitHub's screens. Deplo creates the App for you, nothing to copy and paste. Choose the repositories it may see, then pick the repository and branch. See GitHub.
Set up the app
GitHub and Git only. Deplo has already read the repository, so this card is filled in:
- App name, taken from the repository.
- The framework it found, and the container port that framework uses.
- Build command and Deploy command, read from your
package.jsonand written for your package manager. Reset empties a field and lets the builder decide. - Automatic deployments, on, so every push to that branch deploys.
Deploy
Click Deploy, bottom right. The server, the URL and the build method are already set. For a repository or an upload, the agent detects the framework and builds an image with Railpack by default, so you need no Dockerfile.
You land on the live build log. Closing the tab or reloading the page does not cancel anything.
What is under Advanced
Every card with the Deploy button has an Advanced drawer. It shows the target server on its label.
| Setting | What it is |
|---|---|
| Deploy to | Which server runs it. A single-machine install has one, already picked. |
| Environment variables | Type them, or tick the team's shared variables. Both reach the first build. |
| Build method | Railpack, Nixpacks, a Dockerfile, or a static site, with its version and the container port. |
| Port | Docker images only: the port routing uses, read from the image and editable here. |
| Build path | The sub-folder to build from, for a monorepo. |
| Build on | Another server to build on. Automatic uses a build server if you have one. |
| Git | Deploy on push or on tag, watch paths, submodules. |
| Extra compose flags | Compose stacks only: what to append to docker compose up. |
What you get
When the badge turns Running, the app header shows the production URL and a Visit button.
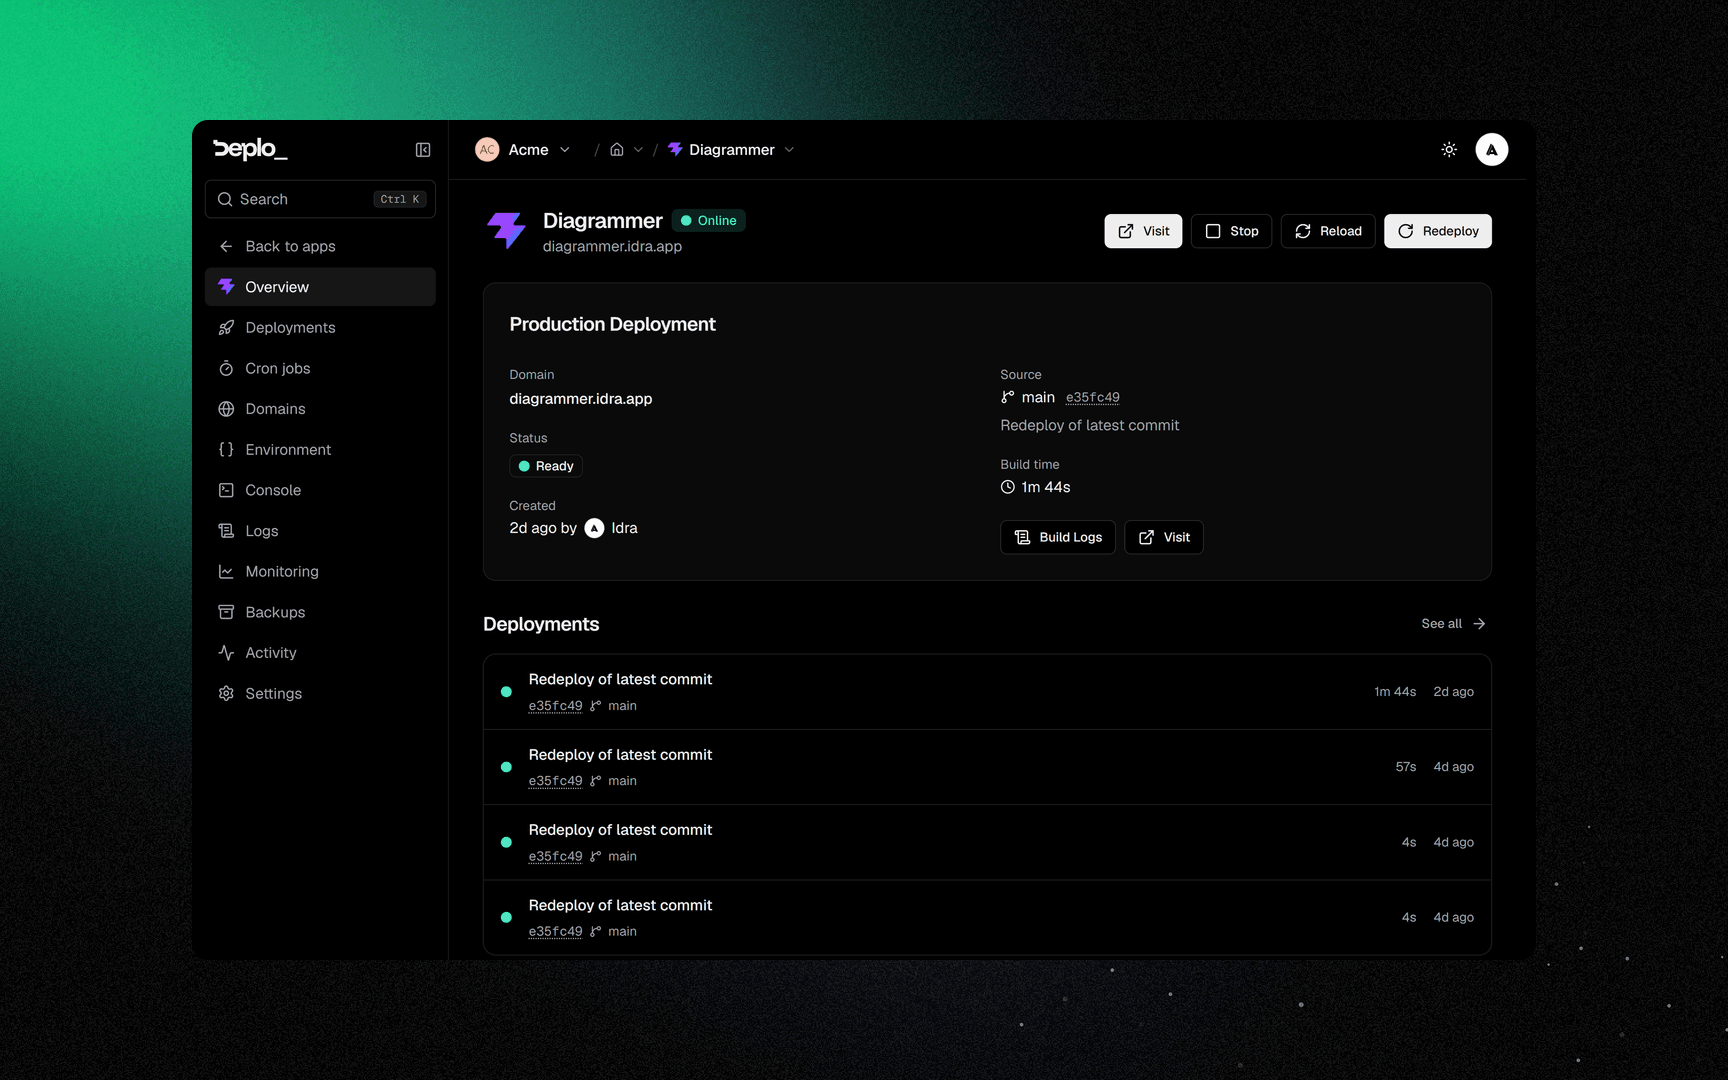
That first URL is a free deplo.site hostname that points at your server with no DNS setup. It is
served over plain HTTP, because a deplo.site hostname cannot have a certificate. See
Add a domain for a hostname with HTTPS.
The tabs you now have
| Tab | What is there |
|---|---|
| Overview | The production deployment, the last four builds, the URL |
| Deployments | Every build, with Redeploy, Rollback and Delete |
| Domains | Add your own hostname |
| Environment | Variables for this app |
| Logs | What the container is printing, live |
| Monitoring | CPU, memory, network and disk for this app |
| Backups | Schedules and restores |
| Settings | Source, build, storage, resources, access, danger zone |
Console, Cron jobs and Pull requests appear once you turn them on or once they have something to show.
Good to know
- The name is permanent. The display name can change, the slug used in URLs and volume names cannot.
- The first build is the slow one. Later builds reuse the server's build cache. Docker Image apps never build.
- A private repository needs a connection, not a key in the URL. Connect the provider once in Settings -> Git and every app reuses it.
- A private registry needs credentials in Settings -> Registries, not in the image reference.
Errormeans the last deploy failed, not that the app is down. See App status.
Troubleshooting
| Symptom | What to check |
|---|---|
| The build fails on a missing command | Your repository has no build or start script, so the builder guessed. Set both in Settings -> Deployments. Applies to GitHub, Git and Upload. |
| The app starts and the URL times out | The container listens on a different port than the one Deplo routes to. Fix the port in Settings -> Deployments, or per hostname in Domains. |
| The repository picker is empty | The GitHub App has no access to it. Click Manage connected apps and grant the repository on GitHub. |
pull access denied on a Docker Image app | The image is private and no registry credential matches. Add one in Settings -> Registries. |
More in Deploys and builds.
Next steps
Did this page help you?